Cisco 2921 basic configuration
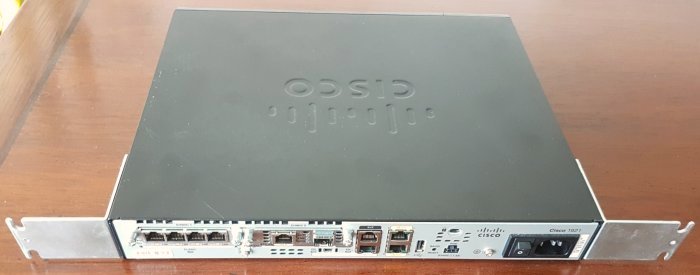
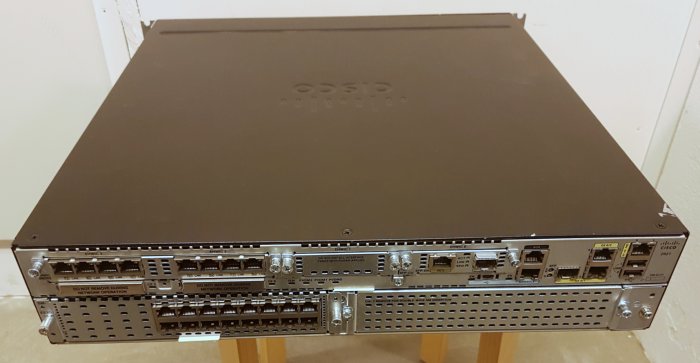
In 2019 I bought two legacy Cisco routers, a 1921 and a 2921, and equipped them with a variety of additional modules. These routers are discontinued and Cisco is no longer updating their firmware. These models are no longer competitive for an ISP or a data-intensive corporation, but are still favorites for hands-on learning the basics of Cisco router configuration. My purpose was dual: after taking a course on Cisco router configuration in 2004 as part of two Learning Tree International network certifications, I never had a chance to refresh my knowledge of Cisco routers. In addition, these routers, today worth no more than 100 € apiece (without modules) on the second-hand market, when used on a not-so-fast Internet connection (e.g. a 4G mobile subscription) can still perform better and be more versatile than current home routers costing 2-3 times more.
Although numerous home and small-business routers produced up to 2018 are branded Cisco, they are actually
designed by their subsidiary company Linksys. The current discussion does not apply to these
Linksys-designed routers. Basics of Cisco IOSUnlike modern home routers, Cisco routers do not allow configuration via a web GUI. Instead, a telnet connection (secured with SSH if desired, which is highly recommended) is used for all configuration and maintenance. The Cisco IOS syntax used to configure these routers has remained largely stable for over 20 years, with new features configured by following the same general rules. Cisco switches are configured by using a very similar syntax. One of the general configuration principles is that to negate a command (e.g. to switch off a feature) is typically done with the same command prefixed with no. How to switch off a given feature is the subject of a surprisingly large number of inquiries on Cisco user-support BBs. For example, the command ip nat inside source static 192.168.11.23 192.168.8.23 defines a static NAT address translation between two IP addresses on networks attached to separate router interfaces. Just deleting this command from the configuration script and re-running the whole script in the CLI still leaves the NAT configured in the router. To actually delete this definition, you must issue the command no ip nat inside source static 192.168.11.23 192.168.8.23. If you learn to configure these routers by actually using them (as opposed to using a software router emulator), you will also quickly discover that the router operating system tries to complete reserved words, as long as you type a sufficient amount of characters to make your intentions clear. This makes it faster to configure features, and is just one example of why it is far better to learn by configuring actual routers, rather than emulators. Router emulators are often limited in the choice of emulated features and their behavior. Some router emulators fail to correctly emulate the actual behavior and responses of the router. Some are so bad that they let you enter nonsense combinations of commands that an actual router would reject. Other router emulators rigidly expect you to enter commands in a specific sequence, while an actual router is far more flexible in this respect. Another useful thing to know is that configuration commands can contain comments, just like source code in most programming languages. Comments in Cisco IOS start with an exclamation mark (!) and continue to the end of the line (i.e., there is no token to mark the end of a comment, and multi-line comments are not possible). One line may contain an IOS command followed by a comment. It is also possible to write a line consisting entirely of a comment. Empty lines can be used to separate lines into logical sections, but this has no effect on the configuration results (the Cisco IOS interpreter simply disregards comments and empty lines). I use plenty of comments to document my intentions when writing IOS commands to a text file. You can then export the configuration from a router as the same sequence of commands, albeit all comments are removed and the ordering of the commands can be different from the original. In general, an entity must be defined in the configuration before its name can be used for further configuration. Aside from this, commands that configure the same feature can, but do not need to, be grouped together in the same section of a configuration file. I like to write the configuration procedure in a text editor, then paste it into a telnet client (one line at a time if I am uncertain the syntax is correct, or in larger blocks for tried-and-tested procedures), complete of comments and empty lines. The configuration saved in the text file is my permanent record and documentation of the configuration procedure, and I keep a whole history of backups of the changes to the configuration over time. This allows me to change the configuration at any time, then reset the router NVRAM and re-configure it from the ground up. In this way I avoid the need to issue "no" commands to switch off any feature I no longer need and have deleted from the text file, but is still activated on the router (and would not be removed by just running the modified configuration).
There are multiple access levels in the configuration. The lowest is available immediately after login,
and indicated by a prompt beginning with the router name (discussed below) followed by
>, for example: The second level is accessed by issuing the enable command and entering a password. This level is generally used to display information items like the IOS version, amount of memory, amount of IP interfaces and their respective configuration, etc. It is also used to clear the NVRAM (non-volatile memory where the configuration is stored when the router is powered off), and to save the current configuration to NVRAM (each configuration command you issue becomes immediately effective, but the new configuration is only stored in RAM and will be lost if the router is rebooted). Finally, this level is also used to reboot the router. You may periodically need to switch back to the first level (with the exit command) to check certain items, or issue the commands only accessible from this level. The configuration level is entered by issuing the config command. The prompt adds (config) between router name and #. This level, and higher levels, are where you perform almost all router configuration.
Higher levels are specific to the type of configuration you are carrying out. The type of configuration is
indicated in the prompt. For example, to configure an IP interface, issue the
interface command: The prompt changes to include the interface word. Issue the commands necessary to configure this interface, and when done type the exit command to return to a lower level. Finally, some hardware modules, especially multi-port switches, contain their own CPU and NVRAM, and behave like separate devices. When configuring them, the router opens a telnet session to the device and connects it to your telnet client, and the device name (rather than the router name) is displayed in the prompt. The IOS syntax used to configure these modules is largely similar to the router's, except that switches may allow port ranges, instead of a single port, to make configuration faster and less repetitive. Some features of these modules may require a different syntax. Delete existing configuration and passwordsWhen you purchase a second-hand router, you may get a unit where the original passwords and configuration have not been erased. It is therefore important that you learn how to override any existing password protection, and to completely delete the configuration and start with a blank slate. Trying to learn how to configure a router without deleting its previous configuration is totally hopeless. Cisco routers let you delete passwords quite easily, and all you need to do it is physical access to the router. Connect the computer serial port to the router Console port (via a USB adapter if the computer lacks hardware serial ports) and set the proper serial parameters in the terminal emulator on the computer (as specified in the router's user guide). Some routers have a USB console port, in this case connect the computer to the router with a USB cable. Power on the device. In the following configuration, press Enter where you see <Enter>, replace other items in <brackets> with your chosen values. Press CTRL + C multiple times, until the rommon 1> prompt is displayed. Type confreg 0x2142 and hit Enter. This sets a special value in the configuration register that enables rommon at the next reboot. At the rommon 2> prompt, type reset. Type no after each setup question, or press CTRL + C to skip the setup procedure. At the Router> prompt, type enable. At the Router# prompt, type configure terminal. At the Router(config)# prompt, type enable secret <YourPassword>. This sets your password for future use. At the Router(config)# prompt, type config-register 0x2102. This puts back the original value into the configuration register. This tells the router not to enter rommon at the next reboot.
After rebooting, at the Router> prompt, type
enable. Note that physical access to the router, and in particular to its console port, allows unrestricted access to IOS. Therefore, physical access to the router must be restricted to just the router administrator. Note also that there is an Aux serial port on the router, which allows the same access as the console port. The Aux port was provided to allow connecting to the router via a modem. This is an obvious vulnerability, and today you should never connect a modem (or anything else) to the Aux port. The following is an example of the remaining basic configuration. Note how some commands are shortened.
Router> ena Concluding remarksThe above procedure deletes any router password and router configuration. After configuring the access password to the router, you will normally configure the router remotely via its LAN Ethernet connection(s). I recommend that you use a telnet client with SSH capabilities to configure the router, for example PuTTY. |